Key takeaways
- Shoot during Cusco's dry season, roughly May through mid-September, when skies are clearest and the Milky Way core sits high in the southern sky.
- Use a wide, fast lens, manual focus set to infinity, and the 500 rule to choose an exposure time that keeps stars sharp.
- The high, dark skies around Chinchero at about 3,700 meters cut atmospheric haze and light pollution that hurt most city astrophotography.
- A sturdy tripod, a remote or timer, and spare warm batteries matter more than an expensive camera body.
Night sky photography in the Andes comes down to three things: a dark, high-altitude location, the right camera settings, and good timing around the moon and dry season. Get those right and even a modest camera can capture the Milky Way arching over the mountains. This guide walks through the settings, apps, framing, and simple gear that turn a blurry snapshot into a photo worth printing.
The Sacred Valley near Cusco sits well above most light pollution, and the thin, dry air at altitude scatters far less light than a sea-level city. That gives astrophotography in Cusco a natural head start. Below are the practical tips that matter most when you point your lens at the southern stars.
What Camera Settings Capture Stars at High Altitude?
Start in manual mode with your aperture wide open, ISO around 1600 to 3200, and a shutter speed near 15 to 25 seconds. These settings gather enough starlight without turning pinpoint stars into streaks. At altitude the sky is darker, so you can often keep ISO lower than you would in a bright city and still pull detail out of the Milky Way.
Focus is where most beginners lose the shot. Switch to manual focus, point at the brightest star or a distant light, and use live view at maximum magnification to make the star as small and sharp as possible. Autofocus almost never locks onto a star, so trust your eyes, not the camera.
Exposure length is a balance. Leave the shutter open too long and the Earth's rotation smears the stars into short trails. The 500 rule gives a quick starting point: divide 500 by your lens focal length to get the longest exposure in seconds before trails appear on a full-frame camera. A 20mm lens allows about 25 seconds; a 24mm lens allows about 21 seconds. On a crop-sensor camera, divide the result again by your crop factor.
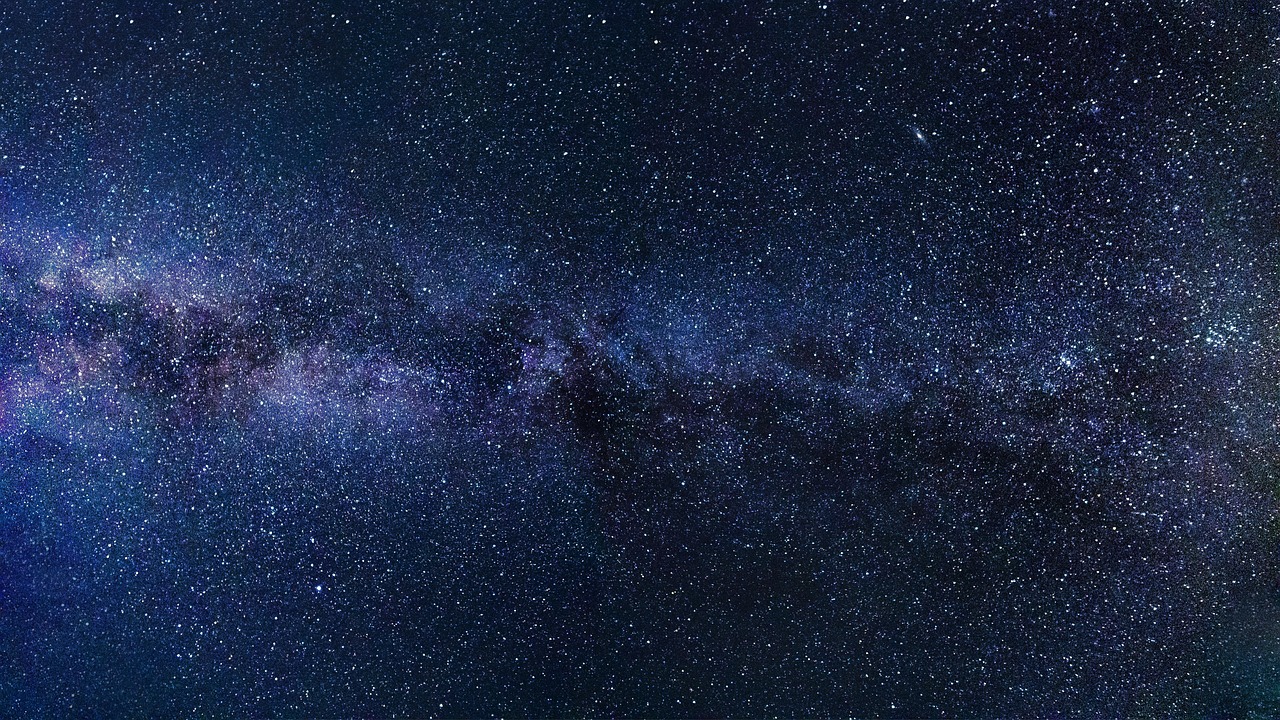
Shoot in RAW so you can recover shadow detail and correct color later. A single frame at these settings records far more than your eye sees, and the thinner atmosphere at roughly 3,700 meters means less haze between your sensor and the stars. For the full picture on dark-sky viewing in the region, see our complete guide to stargazing in the Sacred Valley.
Which Apps and Timing Help You Plan the Shot?
Timing decides whether you get a sky full of stars or a washed-out, cloudy frame. The single biggest factor is the moon: shoot within a few days of the new moon, when moonlight does not drown out the fainter stars. A bright full moon can erase the Milky Way entirely, so check the lunar calendar before you commit to a night.
Planning apps do the heavy lifting here. Tools like PhotoPills, Stellarium, and Sky Guide show you exactly where the Milky Way core will sit, what time it rises, and how it moves across the night. You can stand in your chosen spot during the day, point your phone at the horizon, and preview where the galaxy will appear after dark. That saves hours of guesswork in the cold.
Season matters as much as the moon. In the Southern Hemisphere the Milky Way core is visible from roughly late summer through spring, with the brightest, highest views in the middle of the year. Cusco's dry season lines up well with this window. July is the clearest month in Cusco, with skies clear, mostly clear, or partly cloudy about 54 percent of the time, and the clearer stretch of the year runs from early May to mid-September (Weather Spark). Plan your trip inside that band and your odds of a cloudless night rise sharply.
Nights at altitude get cold, often near freezing during the dry season. Checking an hourly forecast lets you pick a clear, calm window and dress for it. Wind blurs long exposures by shaking the tripod, so a still night is worth waiting for.
How Do You Frame Domes and Mountains Against the Milky Way?
A great night photo needs a foreground, not just stars. Empty sky reads as flat; a jagged peak, a lit glass dome, or a lone tree gives the eye scale and a sense of place. Compose so the Milky Way arcs over or beside a strong anchor in the lower third of the frame, and the whole image gains depth.
At a glass dome glamping site, the structure itself becomes the perfect subject. A warm glow from inside the dome against the cold sweep of the galaxy creates contrast that pulls viewers in. Position yourself so the dome and the Milky Way share the frame, then expose for the sky and let a touch of interior light shape the foreground. The glass suites at Sky Dome Peru sit under exactly this kind of open Andean sky.
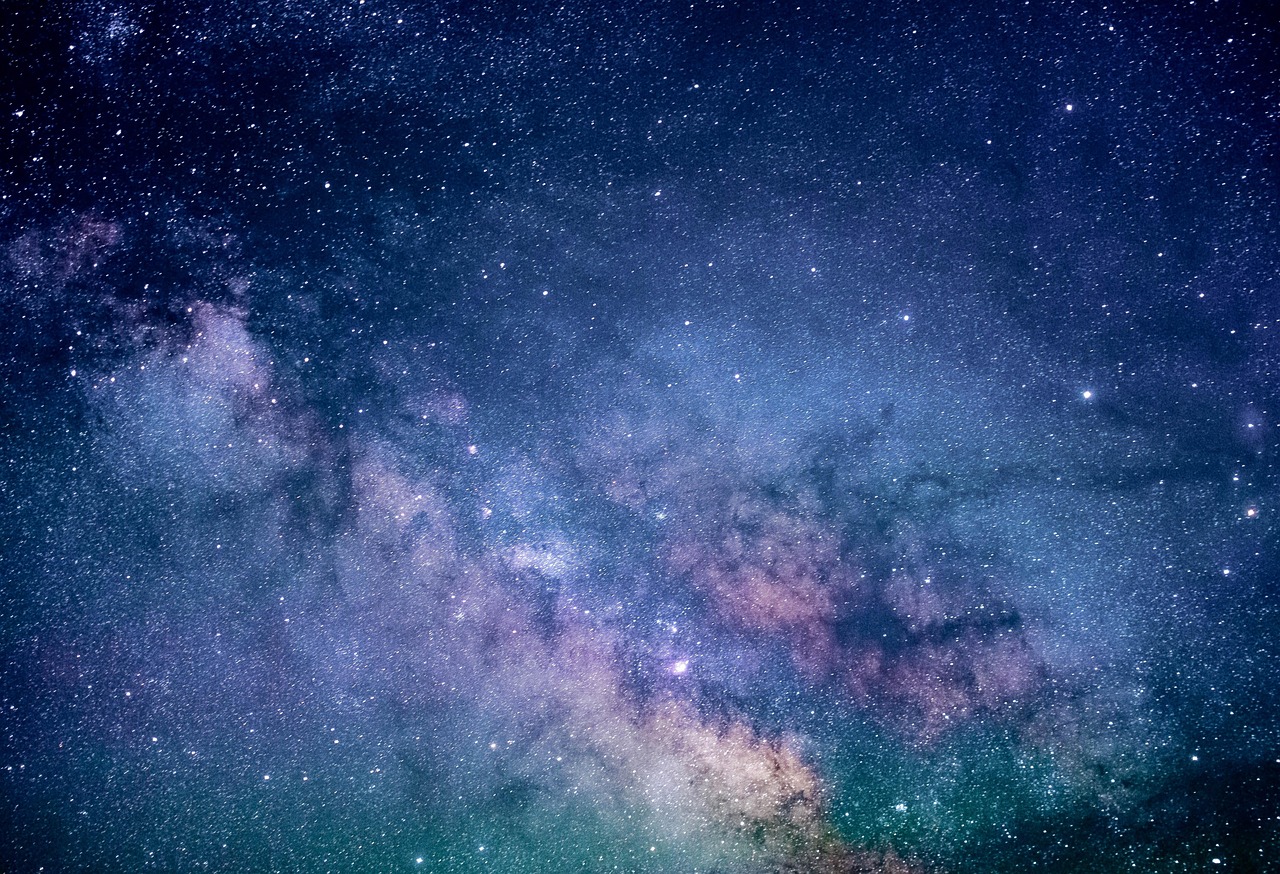
Mountains add their own drama, but they can also block the part of the sky you want. Use your planning app to confirm the Milky Way will clear the ridgeline rather than hide behind it. If the peaks are tall, step back or choose a wider lens so the horizon falls lower and the sky fills more of the frame.
Try a few vertical shots too. A portrait orientation suits the Milky Way core as it stands upright over a single peak or dome, and it works well for prints and phone screens alike.
How Do You Avoid Light Pollution in the Sacred Valley?
Light pollution is the quiet killer of star photos, and the fix is distance and direction. The towns of the Sacred Valley stay small, but their glow still bleeds into the sky near settlements. Move a short distance away from village lights and aim your camera toward the darkest part of the sky, usually away from Cusco and any nearby streetlamps.
The Bortle scale, a nine-point measure of night-sky darkness introduced in Sky & Telescope in 2001, helps you judge a site. Class 1 skies are so dark the Milky Way casts faint shadows, while a bright city rates a 9. Much of the high Sacred Valley around Chinchero, at roughly 3,700 meters, falls far toward the dark end of that scale, well beyond what most travelers ever see from home.
Small habits protect your night vision and your shots. Use a red headlamp instead of white light, since red preserves your eyes' adaptation to the dark. Shield your lens from any stray light with your body or a lens hood, and turn off the camera's rear screen brightness so it does not flare into the frame. Give your eyes 20 minutes to adjust and you will start to see the galaxy with the naked eye.
What Simple Gear Makes Night Sky Photography Easier?
Gear for night photography is more about stability and warmth than about spending money. A sturdy tripod is non-negotiable: every sharp star photo starts with a camera that does not move during a 20-second exposure. A cheap, wobbly tripod ruins more shots than a cheap lens ever will.
Three small items punch above their price. A remote shutter release or the camera's two-second self-timer stops the shake from pressing the button. Spare batteries kept warm in an inside pocket last far longer, because cold drains them fast at altitude. A wide, fast lens, something around 14mm to 24mm at f/2.8 or brighter, lets in the most starlight and captures the widest sweep of sky.
Dress for the cold as seriously as you pack your camera bag. Standing still for an hour near freezing is harder than hiking, so bring layers, gloves thin enough to work the dials, and a warm hat. The right clothing keeps you comfortable through a long shoot and lets you concentrate on the sky instead of the chill.
Finally, pace yourself. Altitude can tire you quickly, and a clear head makes for better composition and fewer forgotten settings. Arrive a day early, hydrate, and give your body time to adjust before you spend a cold night outdoors.
Your Next Step Under the Andean Sky
Pick your dates first. Choose a few nights inside Cusco's dry season, as close to a new moon as your schedule allows, then download a planning app and scout where the Milky Way will rise from your location. With the timing locked in, pack a tripod, a fast wide lens, spare batteries, and warm layers, and you are ready to shoot. Spend one clear night practicing the 500 rule and manual focus before your main session, and the stars over the Andes will reward every bit of preparation.
Frequently asked questions
When is the best time for night sky photography in the Andes?
Aim for Cusco's dry season, roughly May through mid-September. Skies are clearest then, and the Milky Way core rises high in the southern sky. Shoot within a few days of the new moon for the darkest conditions.
What camera settings work for astrophotography in Cusco?
Start with manual mode, aperture wide open (f/2.8 or faster), ISO 1600 to 3200, and an exposure of 15 to 25 seconds on a wide lens. Focus manually on a bright star, then review and adjust.
Do I need an expensive camera to photograph the stars?
No. Any camera with manual mode, a wide fast lens, and a sturdy tripod can capture the Milky Way. A remote shutter or self-timer and warm spare batteries make a bigger difference than a pricey body.
Is high altitude actually better for photographing stars?
Yes, within reason. At around 3,700 meters there is less atmosphere and moisture scattering light, so stars appear crisper and the Milky Way shows more detail than at sea level, as long as the sky is clear.